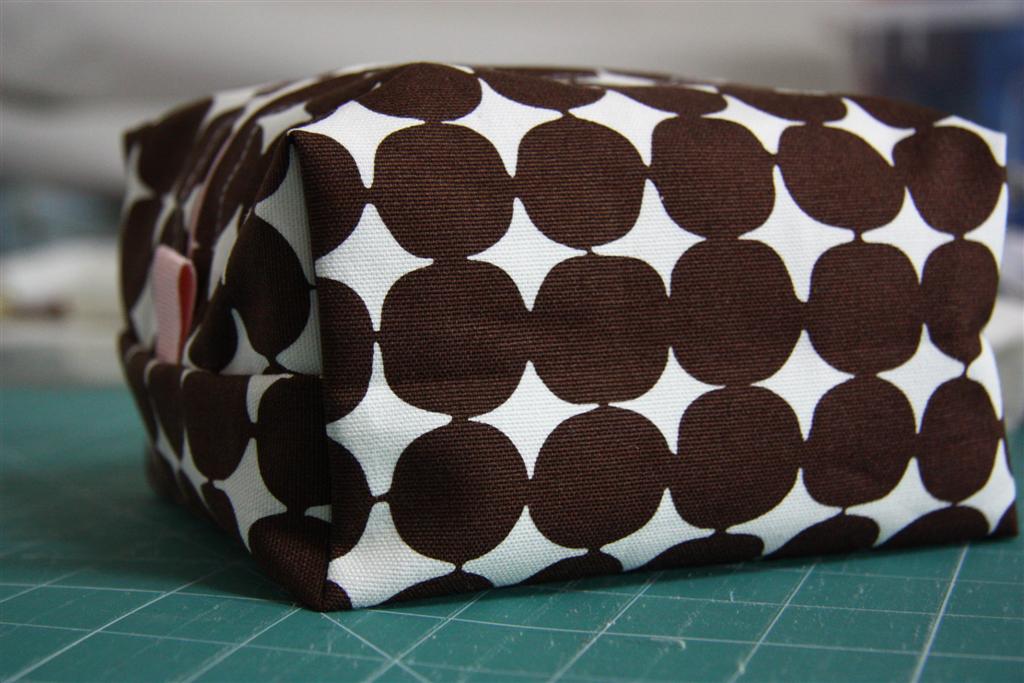
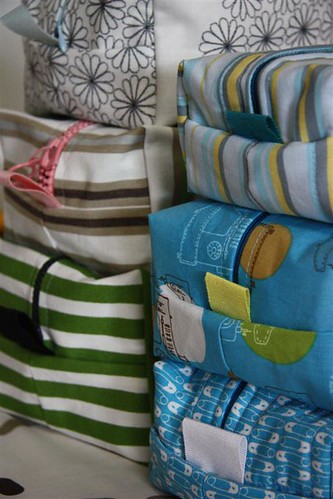
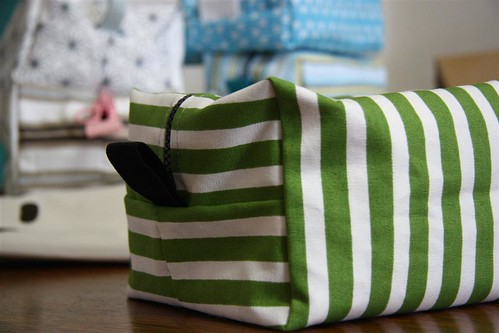
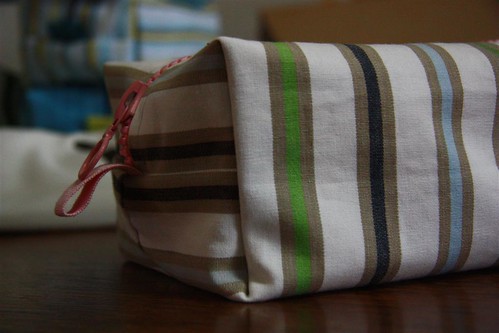
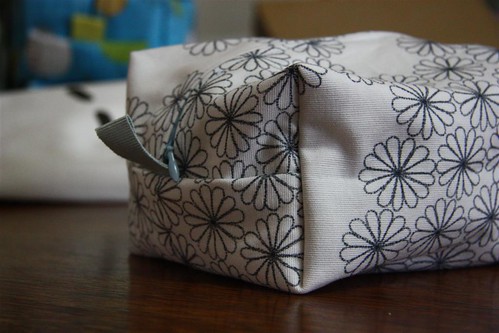
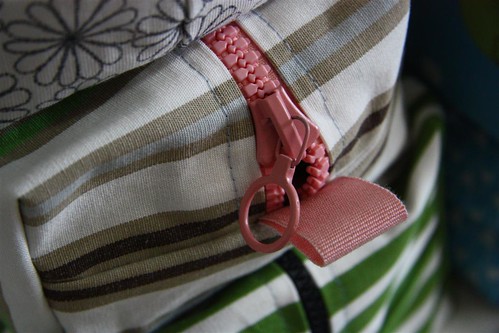
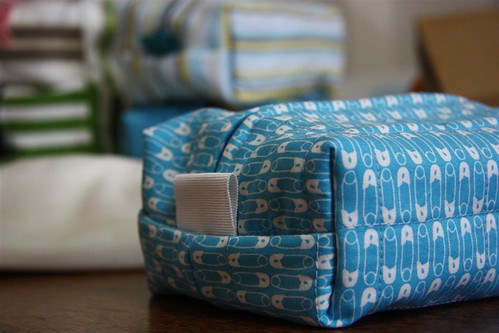
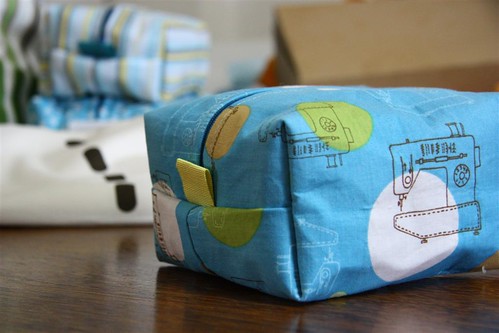
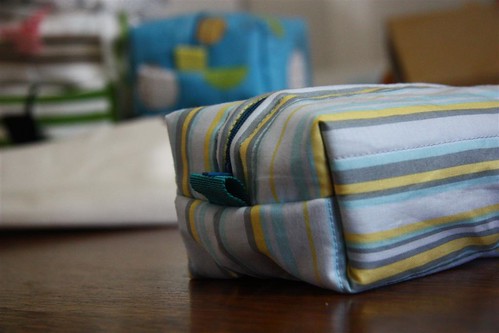
I have to be honest. I only made 3 more boxes until it hit me. Just so you don't think I'm crazy making a douzen more :).
Long story short, batting and fusible turned out to be not that important. The trick was somewhere else. So, with these 10 boxes behind me, let me tell you how I made my perfect tiny cute useless thing. That will surely get some use someday ;).
UPDATE:
Step -1 :))) You might want
to check for the dimensions before starting.
Step 0 - You can skip to step 6, if you made pouch boxes before. Have a lemonade while the others still struggle with steps 1 to 6.
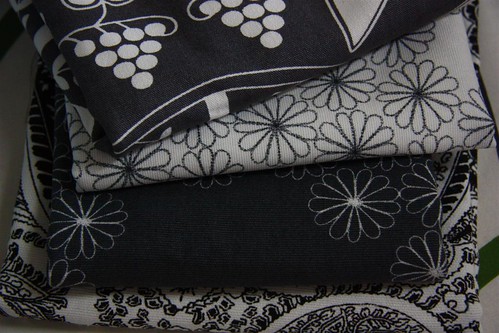
Step 1 - fabrics and accesories.
Prepare your fabrics, turn on your iron, get the mat and the cutter cleaned. Take one zipper that does not fully open and some ribbon.
I got the best results with one layer of heavier fabric - the outer one- and one of quilting cotton - the inner one. The quilting cotton doesn't require fusible. I wanted to use it for this old Kaufman strips, much thinner that kona, for example, but didn't use it in the end and it turned out fine.
If you want to use quilting cotton for the outside, the box will look better [empty] if you put either some fusible web or quilted batting. Not the both of them, though, as it becomes too difficult to work with.
Also, two heavier fabrics are a little to much, but doable.
Step 2 - cutting.
Cut the width of the pouch after the lenght of your zipper. [Do not use longer trimmed zippers if you want it perfect. And you do, right? ] Whatever leght makes you happy, I made them almost square. [after 9 of them you realise it really doesn't matter that much :D]
If you are using an animal print or you are a beginer, cut 4 equal pieces, 2 for the outside and two for the inside. Again, after 9 boxes I had no mood to cut the exterior fabric in 2 pieces, I just left it in 1. One less step for me :D.
If you cut only 3 pieces, the inner pieces have to be 1/2 inch longer than the half of the outer one. Also, if you have a directional print, one side of your box will have the print upside down.
Step 3 - attaching the zipper.
I saw many ways of attaching the zipper. I like this one best because the zipper won't get stucked with inner fabric and is very very easy for this kind of project, with relativly small zippers.
Iron [very well!] down about 1/2" along the fabrics edges, where the zipper is supposed to stay.
Make a sandwich with inner fabric wrong side up, zipper, outer fabric right side up.
If you're an advanced sewer, simply arrange the sandwich with your hands while you're already at the sewing machine. If you're kind of new to sewing, you're allowed to pin a little :), just to see how exactly the fabrics are supposed to stay. Take off the pins when you started sewing and arrange the fabrics as you go.
I like to see the zipper, so I'm not trying to cover it, but you can if you like it better. But don't put the inner fabric closer to the center of the zipper, or it will block the zipper the exact moment when you actually need something from the box!
If you want a neat look, set your sewing machine to a larger step. 3 is my favorite.
Start with the zipper opened and half way along its lenght stop the machine with needle in, lift the presser foot, turn your fabric 90 degrees, keep the end of the zipper in place with one hand and close the zipper with the other. Turn, lower pressing foot, continue sewing the zipper.
If you chose to cut your outer fabric in two, repeat this step with the second part of your zipper. If you chose one piece of outer fabric, you will see this when sewing the second half. It looks bad but it isn't. You're an advanced sewer and the zipper is short ;). Please make it look like this so you won't accidently sew multiple layers.
Step 5 - closing.
Change to regular stitch lenght!
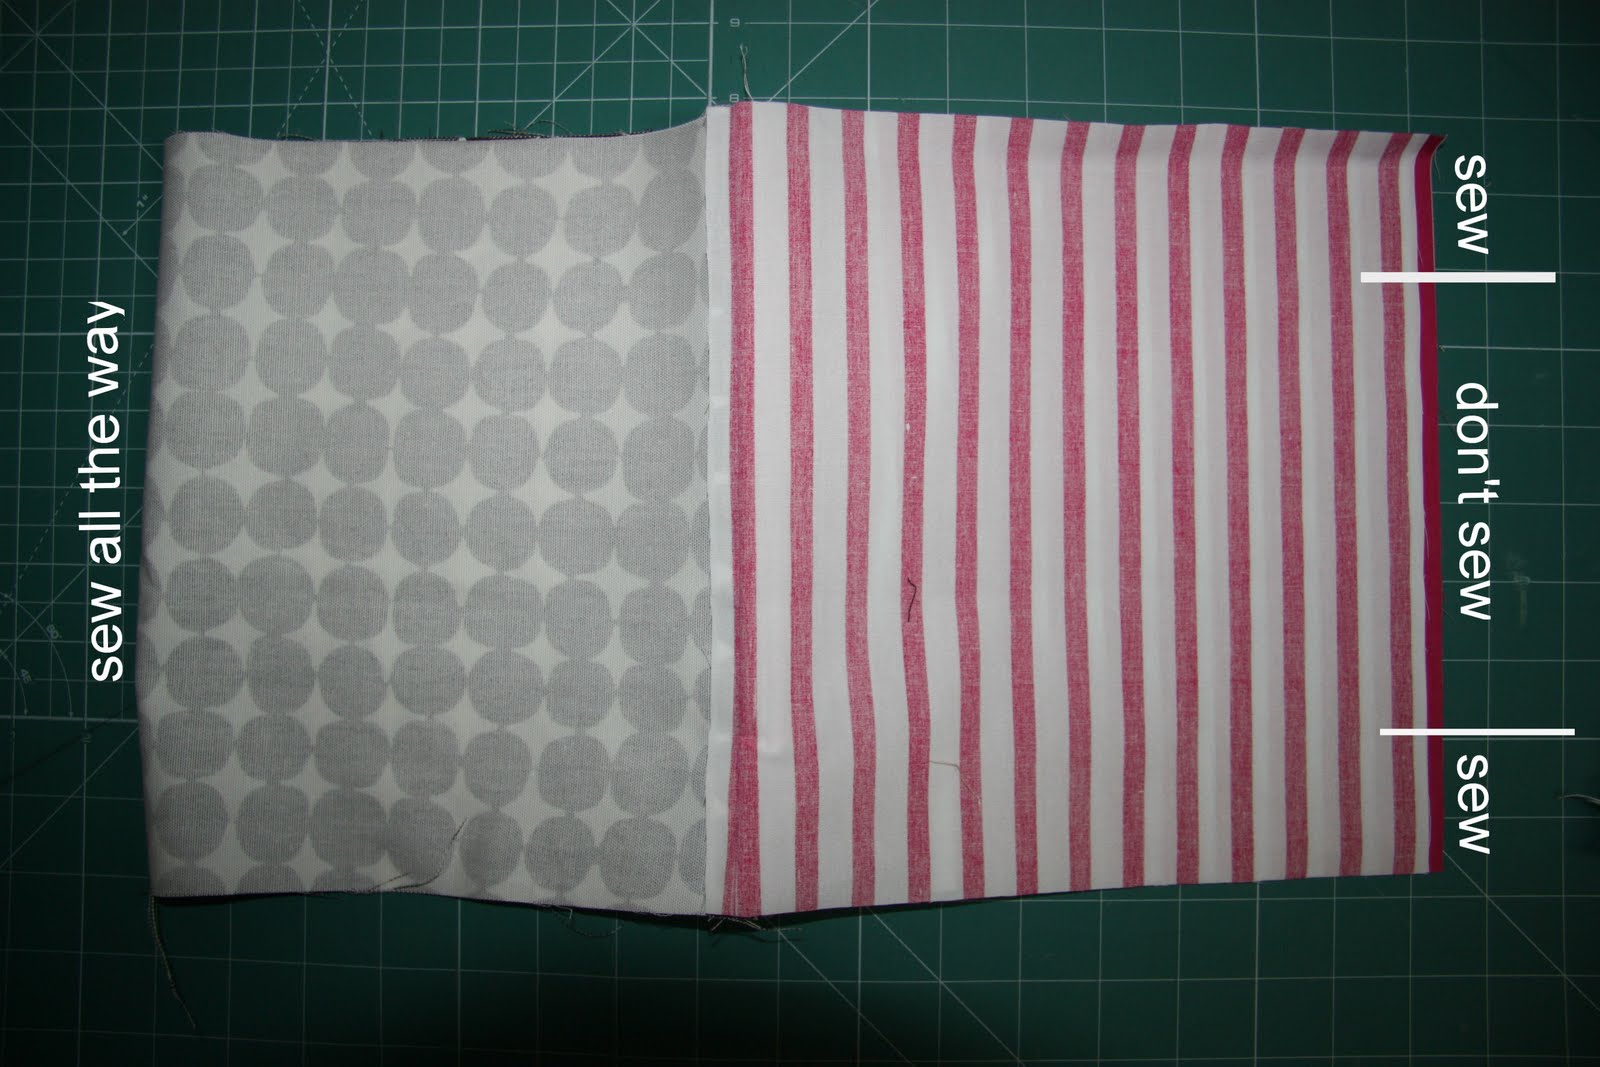
If you made 2 pieces of outer fabric, simply close it now on one side, as pictured. For the inner fabric, sew 2-3" from the edge to the middle, secure stitch in the end and leave a hole for turning. [ I like a bigger hole, I only sew 2"]
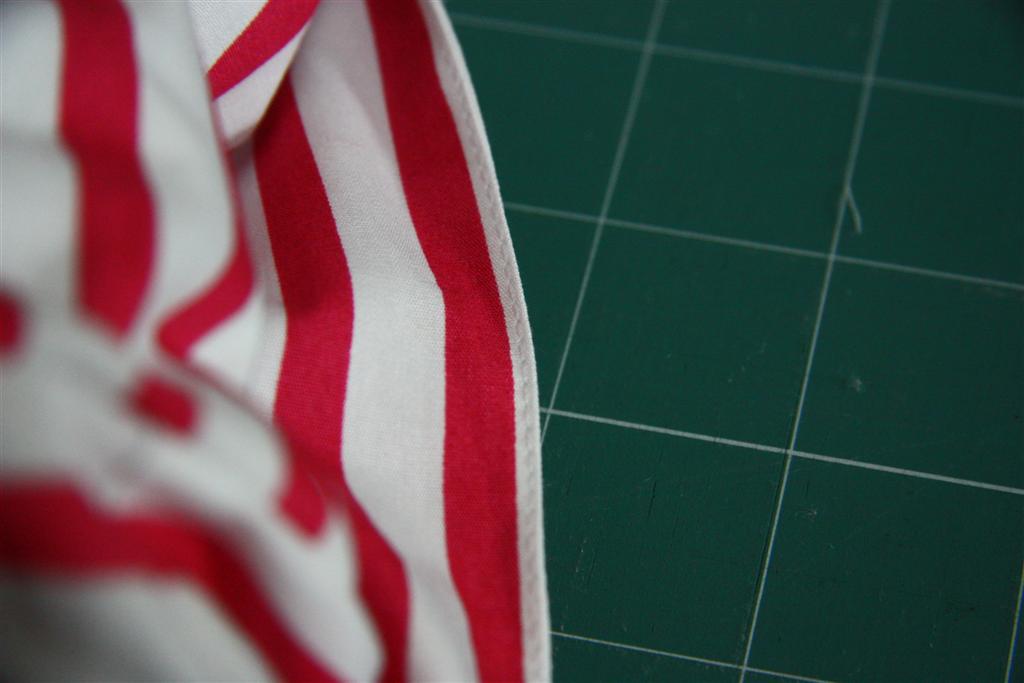
Iron them and press to one side.
Leave the upper and lower sides not sewn.
the trick
Step 6 - Sandwich
Prepare your ribbon. Cut two pieces, fold them in half to see how long you want them. I like them because it's always a pain to open the zipper [when you need it most] without them and they are actually helpfull at this point.
Sandwich the whole shabang alining to the center:
- middle of the inner fabric
- middle of the zipper
- folded ribbon
- middle of the inner fabric
Start with the ned of the zipper, it's easier.
You can pin. I couldn't, I pinned a little to much these days :D.
Starting half inch away from the ribbon, sew through the ribbon and one inch more. Leave the edges open. [ ignore the white thread, I decided to go with green this seazon :D]
Open the sandwich and now sew only inner fabric, as close as possible from the previous stich. It's ok if you have1/4" gap, we will cover it later.
Do the same for the outer fabric, you'll be doing this 8 times, 4 for the inner fabric, 4 for the outer.
Now sew again all layers, But only in the middle, and make sure you close the gaps.[dark green stitch only]
The pouch will look like this:
Flatten it and gently press the corners with your iron. You want to have a small ironing sign on the corners.
Step 7 - Corners
Put hour hand inside the pouch and unfold the corners.
Using the ironed line as a guide to center the triangle, with a triangular ruler draw and pin the corners.
Make this step for every corner, 8 times total. You should have a little hedgehog now, so be carefull with your fingers when sewing.
Cut the extra and keep them for 8 dwarfs hats or something :)
Step 9 - turn, sew and enjoy
Through the hole you left open at step 5, turn the pouch. You will now have the inner fabric on the outside. Take a look at your amazing zipper [if you have a zipper with two faces, you just got yourself a fully reversible box pouch] and nicely arrange the corners
.
You can handsew the hole or machine sew it with matching thread.
Turn it on the right side and just admire your perfect pouch! Or put it on the pile and just breath. It was a long day for some of us :)
I you have any questions, please ask, I will answer them with a comment at this post.
Feel free to do whatever you like with this tutorial :), I would love if you'd link back to see what you've done with it.