

I made it tiny because this is how I like it. Of course, if you want it bigger or with more pockets, it's totally doable.
Step 0 - dimensions
I measured the biggest bill I carry and added about 3/4" for the hight. I planned to use binding so I calculated 2 x 1/4" and another 1/4" for safety :)
[Because I am using binding, when sewing it, the risk of catching all the pocket in the binding is really high when they have similar heights. So you have safety 1-keeping the money into the wallet and 2-helping you when attaching the binding].

I measured the width of a credit card, added sewing allowances for the pockets and binding and left about 1/4" in the middle, to have it fold better.

My final dimensions for the large pieces in helicpters were about 9" x 4 1/2", in bicycles 8 1/2" x 4" and for the smaller ones were about 3" x 5" but I cut them later as they were too big..
Step 1 - supplies
Choose your fabrics for exterior, interior and binding. It is a too small project to just add binding later, for example. Plan all of them together, accesories too.
I had a leftover from an Echino FQ and worked just perfect. I even spared one helicopter :)) [Yeah, I'm that cheap when it comes to Echino :))))], For inside and binding I used Kona in pepper.
Choose your stiffing :): interface, batting, fleece [for the green one I used fleece, for this one I tried a very heavy interface].
Chose your closure device :): snap, velcro, elastic. I had snaps in both cases because I just like them very much :). If you think velcro I suggest you use the same technique, with strip. If you use elastic you just replace the strip with elastic and the male snap with a button.
Step 2 - cutting

You will use all of them for the largest pocket, where you keep the money.
Cut 4 smaller pieces, for the credit cards. This will give you 2 pockets. If you want more pockets, just add 2 pieces for every new pocket. I made mine about 5 x 3" but they were way too big and I cut them later.
You can cut a strip for the snap now but I suggest you do it later, when you have everything ready and the measurements will be more accurate. I had a perfect leftover and just left it in the pic :).
Step 3 - go
Join 2 of the larger pieces, long sides together. Iron open, fold again and sew a decorative stitch. Or, like me, iron open, sew at 1/16" or 1/32" from the stitch and fold after. It will have a neater look ;). Iron again and put aside this side of the pocket.

Quilt or use interface for the external layer. If, like me, you're using snaps, simply pin the two larger pieces left, wrong faces together [just like the finished product] and place the snap. Unlike me, please put the male snap, not the female one. Or put it wrong and do it again after :))) If I am confusing you right now, please take a look at the last pic to see how it should look.

Sew the tiny credit card pockets. Wrong sides facing out, only sew two adjacent sides. The other two will be caught under binding, don't bother yourselves with them :)
.

Keep in mind you will have one for the left side and one for the right side, so you want them mirrored. Turn and iron petty well.
Step 4 - putting them togheter
Take the inner side of the big pocket [the one you put aside] and sew the 2 small pockets on. Make a test with your card, just to be sure. Leave at least 1/4" between the small pockets if you want a nicely foldable wallet.
Take the pieces with the snap and make a sewing line in the middle. This will help your pocket fold in half even better.
[I am sooo sorry, I completely forgot to take a pic for this step, but you can see it with binding on]
Now go make the sandwich. You can make a 1/8" perimetral stitch, just to keep things in place while you attach the binding. And do use your walking foot!
Step 5 - binding
I have tried many many many ways of attaching the binding. What I like best, for a tiny wallet, is a 2 1/4" folded binding, sewn on the back of the wallet. You have a lot of control of what happens on the front of the wallet and it's nice and small. I would have tried a 2" one but the interface was so heavy I got scared. Next time I'll definitely try the 2".

After attaching the binding on the back it's a good time to make the strip for the female part of the snap. Make it as wide as you like [mine is about 1/2 - 3/4"], and measure the length you need [the position of the other side of the snap and the thickness of your wallet make this length vary. So please go measure :).Remember to add 1/2", 1/4" for the binding and 1/4" sewing allowance for the end]

Although it may seem too little to care about this, do clip the corners. It will look much much better.
Step 6 - finish line
Finish sewing the binding on the face of the closed wallet and remember to stitch the strip too.

The last thing to do is attach the snap to the strip, just to be sure you measured everything right and the wallet does close :).


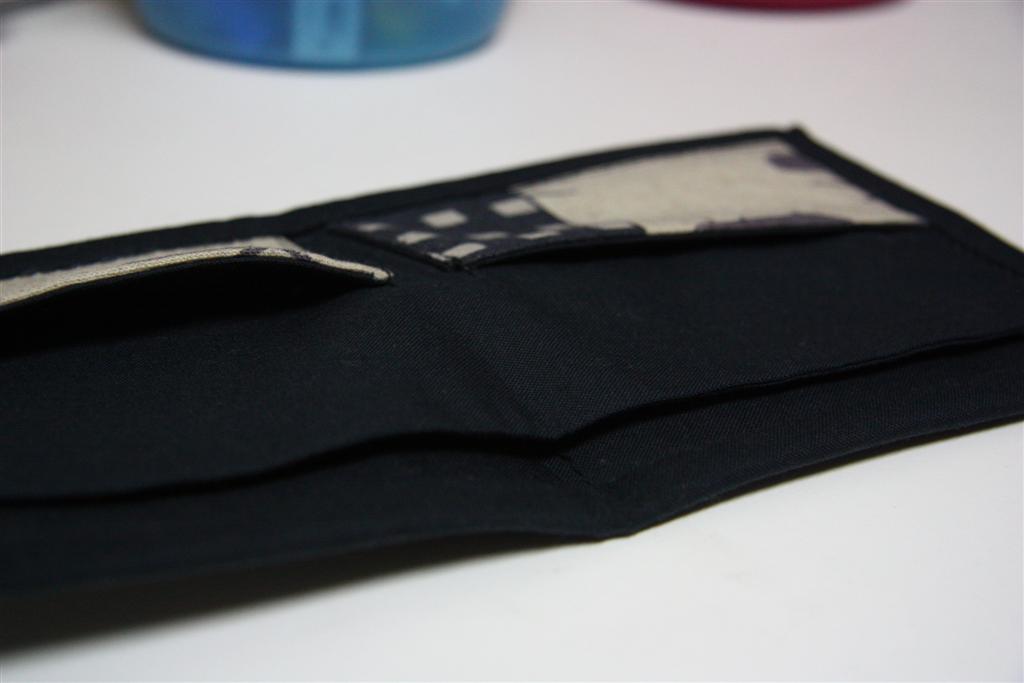
There you go :). See how nicely it folds?

Now please let me know if you have any questions or if I'm spelling things wrong here :))) And, of course, feel free to make as many wallets as you'd like, just do think about me and make me feel good by telling me what great things you made following my tutorial :)))
thats so adorable!
ReplyDeleteSuch a good idea! I have to review this post again! It looks lovely! I'll try, see if I don't end up doing 10 of these... Thanks for the tutorial!
ReplyDeleteLovely wallet. It's going on the list!
ReplyDeleteI'm not sure why but this weblog is loading extremely slow for me.
ReplyDeleteIs anyone else having this issue or is it a problem on my end?
I'll check back later on and see if the problem still
exists.
My web-site ... TV stations
This post is actually a fastidious one it helps new internet viewers, who are wishing for blogging.
ReplyDeleteAlso visit my blog post bmr calculator